JC Herrell /Feather Illustration bead (Stringer 3)

  • $120

Feather Illustration bead (Stringer 3)

Let's talk about all my tips and methods for illustrating with those techniques along with heat control, quick little stringer end fixes and erasing part of a line.

Stringer 3:

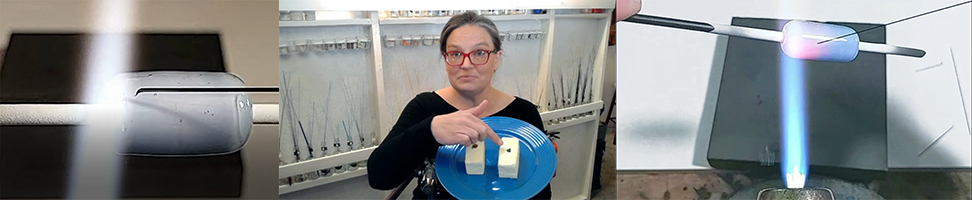
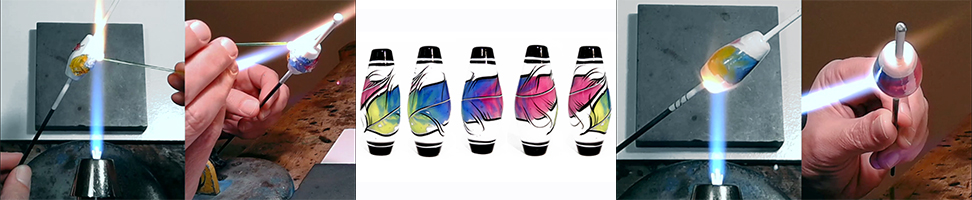
Designed for beadmakers with some fine stringer experience, this course focuses on creating illustration possibilities for your stringer skills.  We'll focus on making clean intersections and filly tapered ends while discussing line weight, surface tension and heat control.  To make our illustrations bright with color, we'll also discuss the techniques and considerations of using color with stringer work.  

Contents

Class information

 Information about this class and the skills training offered.  Here you can find inspiration photos, supply lists, and more.


Inspiration photos
Preview
Introduction
Preview
Supplies and tools
Preview
Terms and conditions
Preview
Privacy policy
Preview
Welcome!

Prep work

Let's get ready to stringer!  Here we take a look at pulling our stringer long and straight while we become aware of "the zone"  of heat next to the flame.

Pulling stringer
Finding the zone
Printable notes: Finding the zone

One line at a time

In this section we'll talk about color choices in illustration work, how to achieve clean intersections,  and how to create those frilly tapered line ends while discussing heat dynamics and surface tension in new ways. 

How I add color
Printable notes: Color choices
How I drag the end of a line and erase lines.
Printable notes: Erasing and Dragging
How I make taper ends and crisp intersections
Printable notes: Tapers and intersections
How I make end caps
Printable notes: End caps

Putting it all together

In this section we'll put all our new skills together to make a feather illustration bead from base bead to encasement to background color to surface details to end caps.


How I make a feather illustration bead
Printable notes: Feather Illustration bead